- Published on
- on
Creating an Interactive Sci-Fi Shield with React Three Fiber
By Christian Oritz
As a bit of a geek, most of my projects and experiments are heavily inspired by movies, anime and games. I especially love 90s sci-fi and for this one I wanted to recreate something similar to the energy shields used by Droideka's in Star Wars.
That initial idea led me to explore different approaches for rendering energy shields, particularly flow-based effects. Over time, the experiment evolved into building a fully customizable component that is easy to integrate into real-time projects.
Below is a step-by-step breakdown of how I built this interactive energy shield effect with hit detection using React Three Fiber and custom GLSL shaders.
From reference to implementation
Once I had the initial idea, the next step was gathering references. Lately, I've been spending a lot of time going through Unity shader tutorials to understand how different effects are approached. I don't always find exactly what I am looking for, but even small details can be enough to reverse-engineer a solution or spark a new idea.
In this case, I looked at a few different shield implementations and started breaking them down into simpler building blocks. From there, the goal was to recreate the effect using procedural techniques that are flexible and lightweight enough for real-time use.
The entire shield is rendered using a single sphere mesh, but its visual complexity comes from combining multiple shader layers. Each layer solves a specific part of the effect:
- A Fresnel rim to define the silhouette
- A hexagonal pattern to give structure to the surface
- Flowing noise to simulate energy moving through the shield
- A dissolve effect to control how the shield appears
- And finally, hit detection to make the shield react to interaction
By breaking down the effect into smaller parts it is much easier to think about and build.
Building the layers
Scaffolding with R3F
The first step is setting up React Three Fiber with a sphere mesh, a camera with orbit controls from Drei, plus a few lights.
import { Canvas } from '@react-three/fiber'
import { OrbitControls } from '@react-three/drei'

function Scene() {
  return (
    <>
      <ambientLight intensity={0.4} />
      <directionalLight position={[5, 8, 3]} intensity={1.5} castShadow />

      <mesh castShadow receiveShadow>
        <sphereGeometry args={[1.8, 64, 64]} />
        <meshStandardMaterial color="#c8b89a" />
      </mesh>

      {/* Tells R3F these are the default controls for the camera */}
      <OrbitControls makeDefault />
    </>
  )
}

function App() {
  return (
    <Canvas shadows camera={{ position: [8, 5, 8], fov: 50 }}>
      {/* Shadows are important for a grounded visual */}
      <Scene />
    </Canvas>
  )
}
From there, we switch over to a custom shader material. A clean way to do this is by extending ShaderMaterial, then registering it with R3F using extend so it behaves like any other JSX material.
import * as THREE from 'three'
import { extend } from '@react-three/fiber'

class ShieldMaterial extends THREE.ShaderMaterial {
  constructor() {
    super({
      uniforms: {
        uTime: { value: 0 },
        uColor: { value: new THREE.Color('#26aeff') },
      },
      vertexShader,
      fragmentShader,
      // Allows alpha blending so we can see objects inside the shield
      transparent: true,
      // Prevents the transparent shield from being depth blocking
      depthWrite: false,
      // Adds the shield color on top of the scene for a brighter glow
      blending: THREE.AdditiveBlending,
    })
  }
}

extend({ ShieldMaterial })

function Shield() {
  return (
    <mesh>
      <sphereGeometry args={[1.8, 64, 64]} />
      <shieldMaterial />
    </mesh>
  )
}
Once that scaffolding is in place, we are ready to start building the shader layer by layer.
NOTE
The final demo code is more complex than this, but this is the basic idea to get started.
Fresnel rim lighting
The first layer I added was a Fresnel effect, mainly to define the silhouette of the shield.
It's one of those techniques you start noticing everywhere once you're familiar with it. A lot of stylized games use Fresnel quite heavily to highlight edges and give objects that subtle glowing outline.
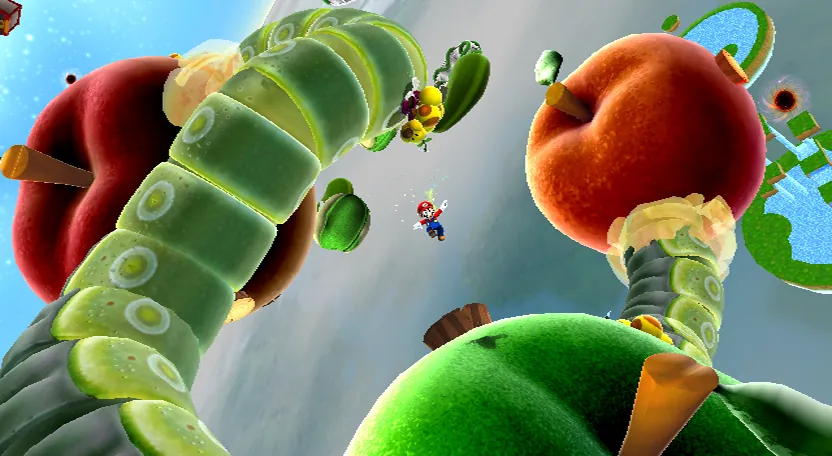
Fresnel applied in almost all the objects in Mario Galaxy
In our case, it works particularly well because it instantly gives the shield that "energy field" look without adding much complexity.
float fresnel =
  pow(1.0 - dot(vNormal, vViewDir), uFresnelPower) * uFresnelStrength;
The shader compares the surface normal vNormal with the view direction vViewDir where the view direction is pointing to our camera.
When the two vectors point in similar directions, the dot product approaches 1, reducing the effect. In this case, we care about if they point to the center of the sphere. Toward the edges of the object, the vectors become more perpendicular, pushing the value toward 0, which increases the glow.
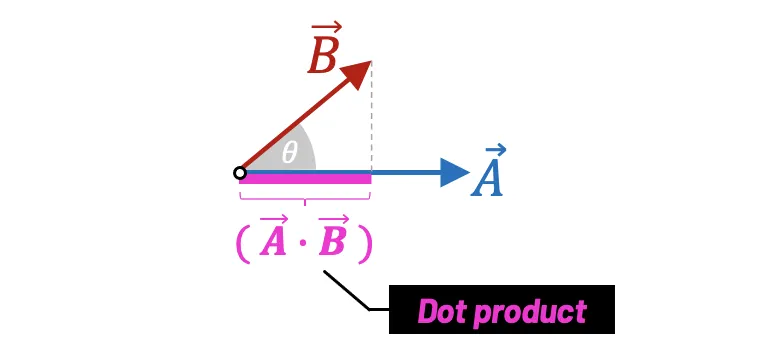
Raising the result to a power lets us control how sharp or soft the rim lighting appears.
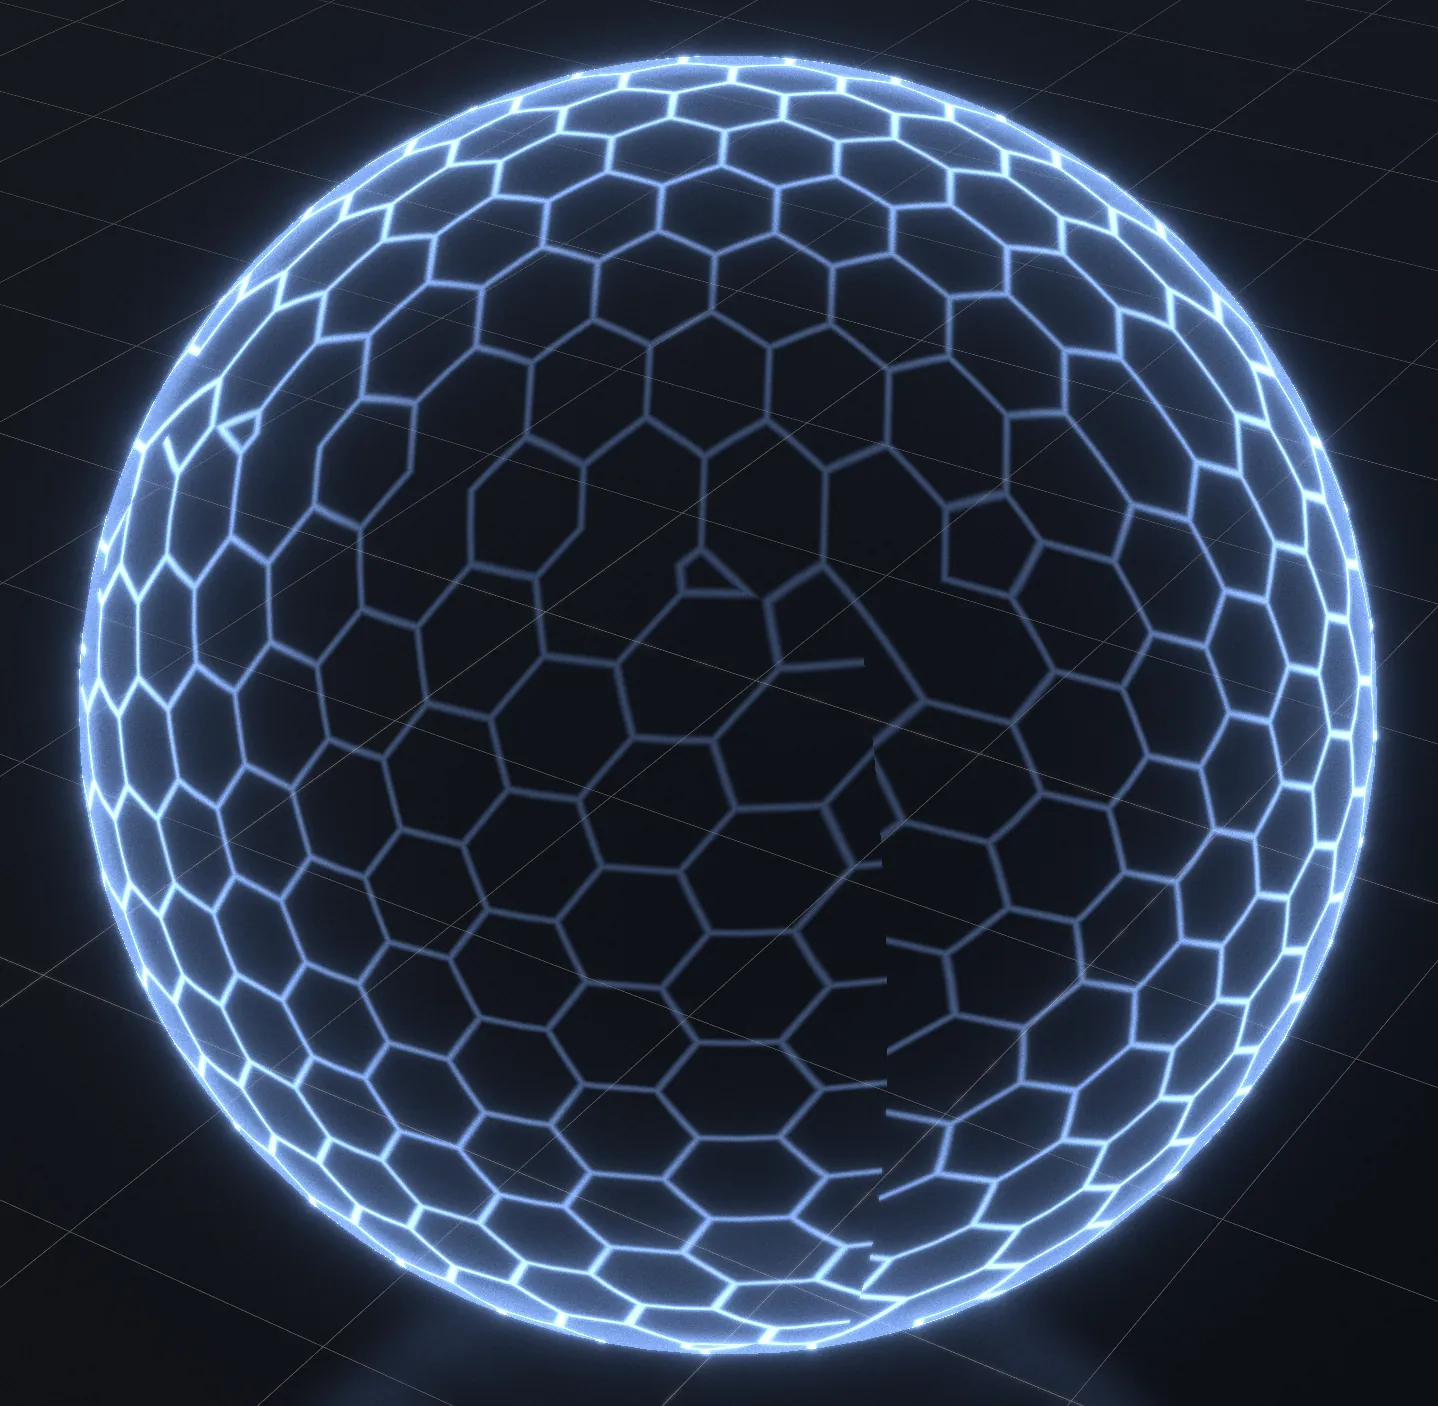
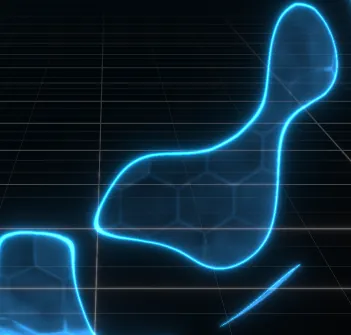
Procedural hex grid
To give the shield its characteristic sci-fi look, we add a procedural hexagonal grid.
vec3 absN = abs(normalize(vObjPos));

if (absN.x >= absN.y && absN.x >= absN.z)
    faceUV = vObjPos.yz;
else if (absN.y >= absN.z)
    faceUV = vObjPos.xz;
else
    faceUV = vObjPos.xy;

float hex = hexPattern(faceUV) * hexFade;
Instead of relying on UV coordinates, the pattern is generated directly from object space position. This keeps the grid stable and avoids UV distortion across the sphere. The shader determines which axis is most dominant and projects the coordinates onto that plane. This technique works similarly to cube projection, effectively mapping planar coordinates onto the sphere.
To avoid visible seams between projections, a fading mask hexFade softly reduces the grid near the transition areas.
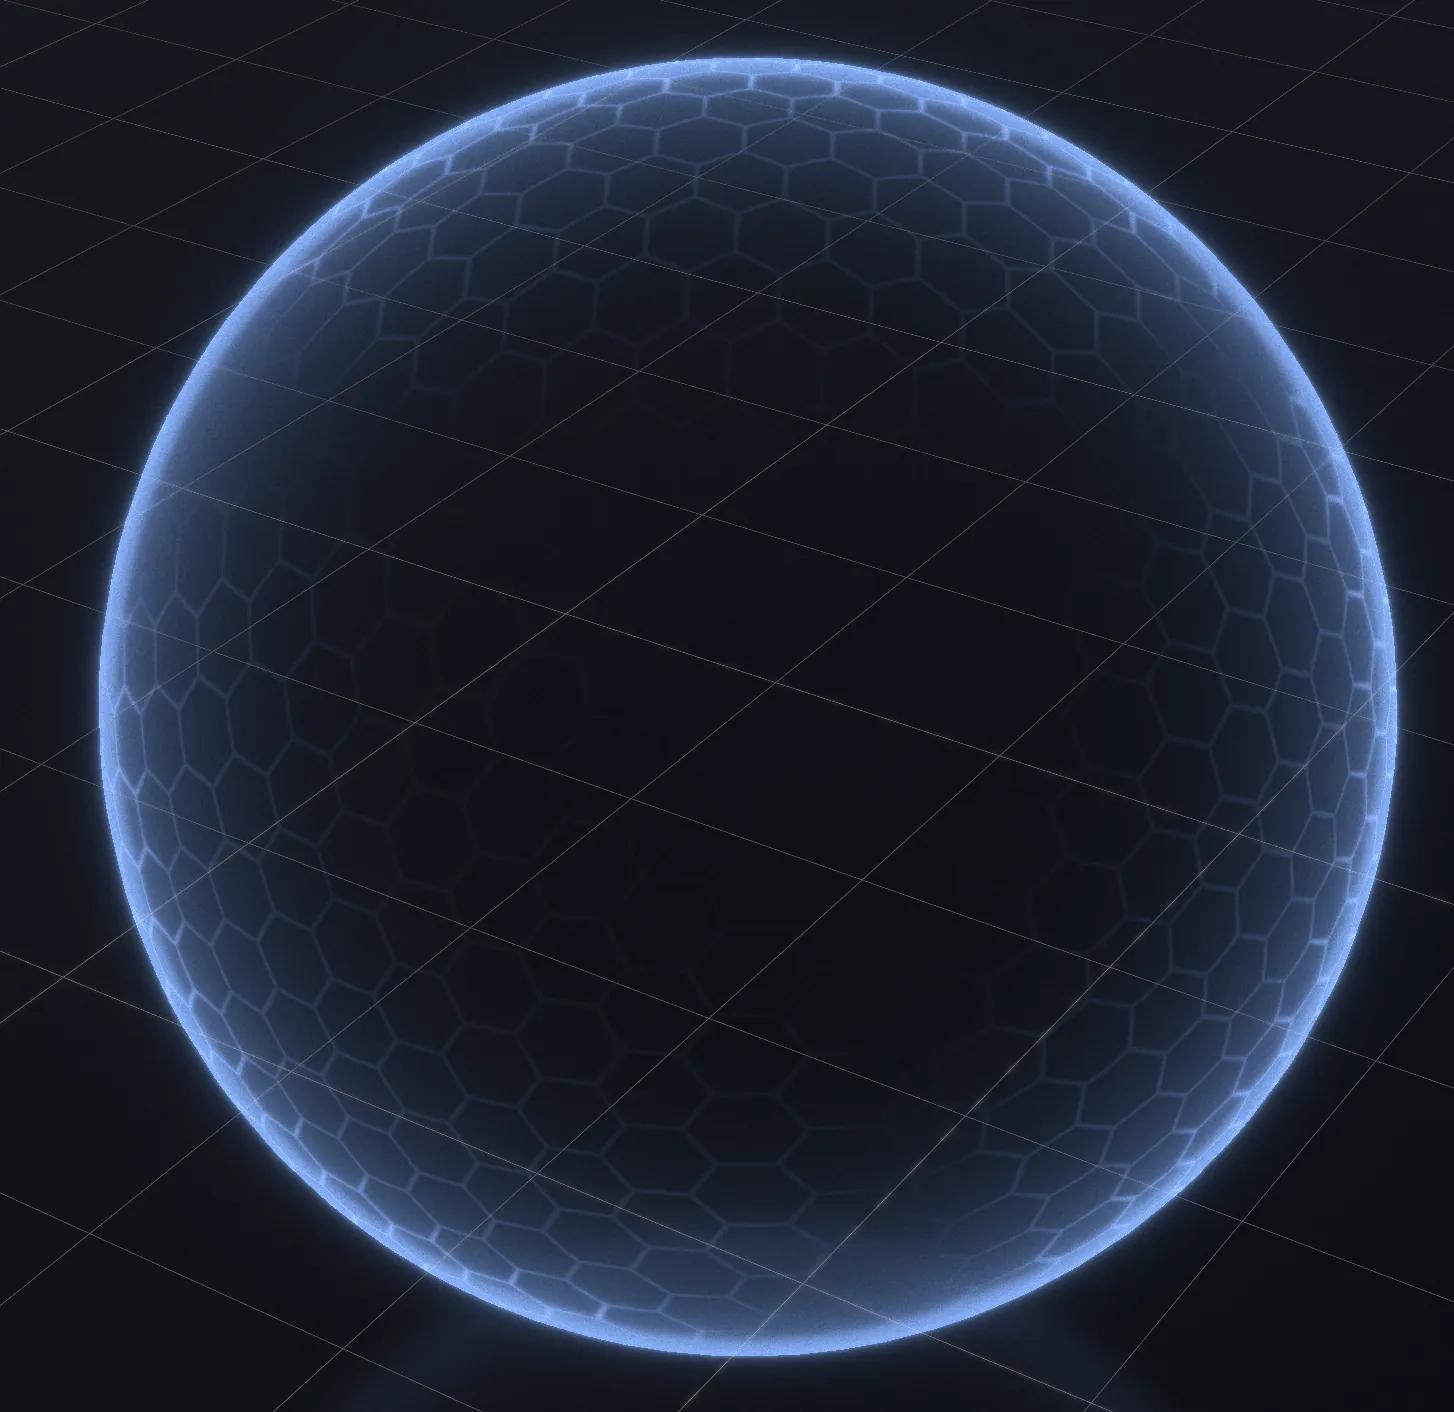
hexFade hides this and adds some atmosphere
The final effect gives some artistic controls over how the hex look while maintaining visual coherence.
Taking it further, each cell can also receive a subtle random flicker, which adds a bit of visual activity across the shield surface.
Flowing energy noise
To prevent the shield from feeling static, animated procedural noise is added that flows across its surface.
float fn1 = snoise(vObjPos * uFlowScale + vec3(t, t*0.6, t*0.4));
float fn2 = snoise(vObjPos * uFlowScale*2.1 + vec3(-t*0.5, t*0.9, t*0.3));

float flowNoise = (fn1*0.6 + fn2*0.4)*0.5 + 0.5;
This layer uses two octaves of 3D simplex noise, each moving in a slightly different direction and speed.
I started experimenting with a single noise layer, but the result felt too uniform and predictable. I soon learned the trick to breaking up the repetition: adding more noise! A second layer makes a big difference with its own speed and variation.
The final result has shield details and a dynamic life to it thanks to the noise. Without it, it looks static like an image, but now we really feel the real-time aliveness of the effect.
Dissolve reveal
The shield looks alive on screen but now we need a reveal. To get something dynamic we will come back again to noise, but this time explore a dissolve effect. Instead of revealing the sphere linearly, procedural noise is used to determine which fragments become visible first.
float noise = snoise(vObjPos * uNoiseScale) * 0.5 + 0.5;

float revealMask =
  smoothstep(uReveal - uNoiseEdgeWidth, uReveal, noise);

if (revealMask < 0.001) discard;
The uReveal uniform moves over time, acting as a threshold against the noise field.
Fragments with lower noise values disappear first, while higher values remain visible longer. This produces an organic activation effect where the shield gradually materializes across the surface.
To enhance the visual impact, a thin emissive band can be extracted along the dissolve boundary, creating a glowing edge as the shield forms.
Interactive touches
At this point, the effect could already be considered finished, but a shield only really makes sense if it can be hit, so let's take it a step further and make it interactive.
To do that, we'll allow users to click directly on the shield surface and generate expanding impact rings. On the React Three Fiber side, this starts by attaching a click handler to the shield mesh.
<mesh onClick={handleClick}>
  <sphereGeometry args={[1.8, 64, 64]} />
  <shieldMaterial ref={materialRef} />
</mesh>
When the mesh is clicked, React Three Fiber gives us information about the hit point. We then convert that point into the shield's local object space and write it into the shader uniforms.
const handleClick = (e) => {
  e.stopPropagation()

  // e.point is in world space, but the shader works in object space
  const localPoint = e.object.worldToLocal(e.point.clone())

  // Reuse a fixed number of hit slots
  const idx = hitIdxRef.current % MAX_HITS
  hitIdxRef.current++

  const u = materialRef.current.uniforms
  u.uHitPos.value[idx].copy(localPoint)
  u.uHitTime.value[idx] = timeRef.current
}
Here we store the hit information in a small ring buffer. Each slot records the position of the impact and the time the hit occurred. Limiting the buffer size keeps the shader efficient while still allowing several hits to appear simultaneously. Rather than creating new hit objects every time the user clicks, we cycle through a fixed number of uniform slots and overwrite the oldest entry.
Expanding rings in the shader
Inside the fragment shader we loop through all active hit records and compute the distance between the current fragment and the impact point.
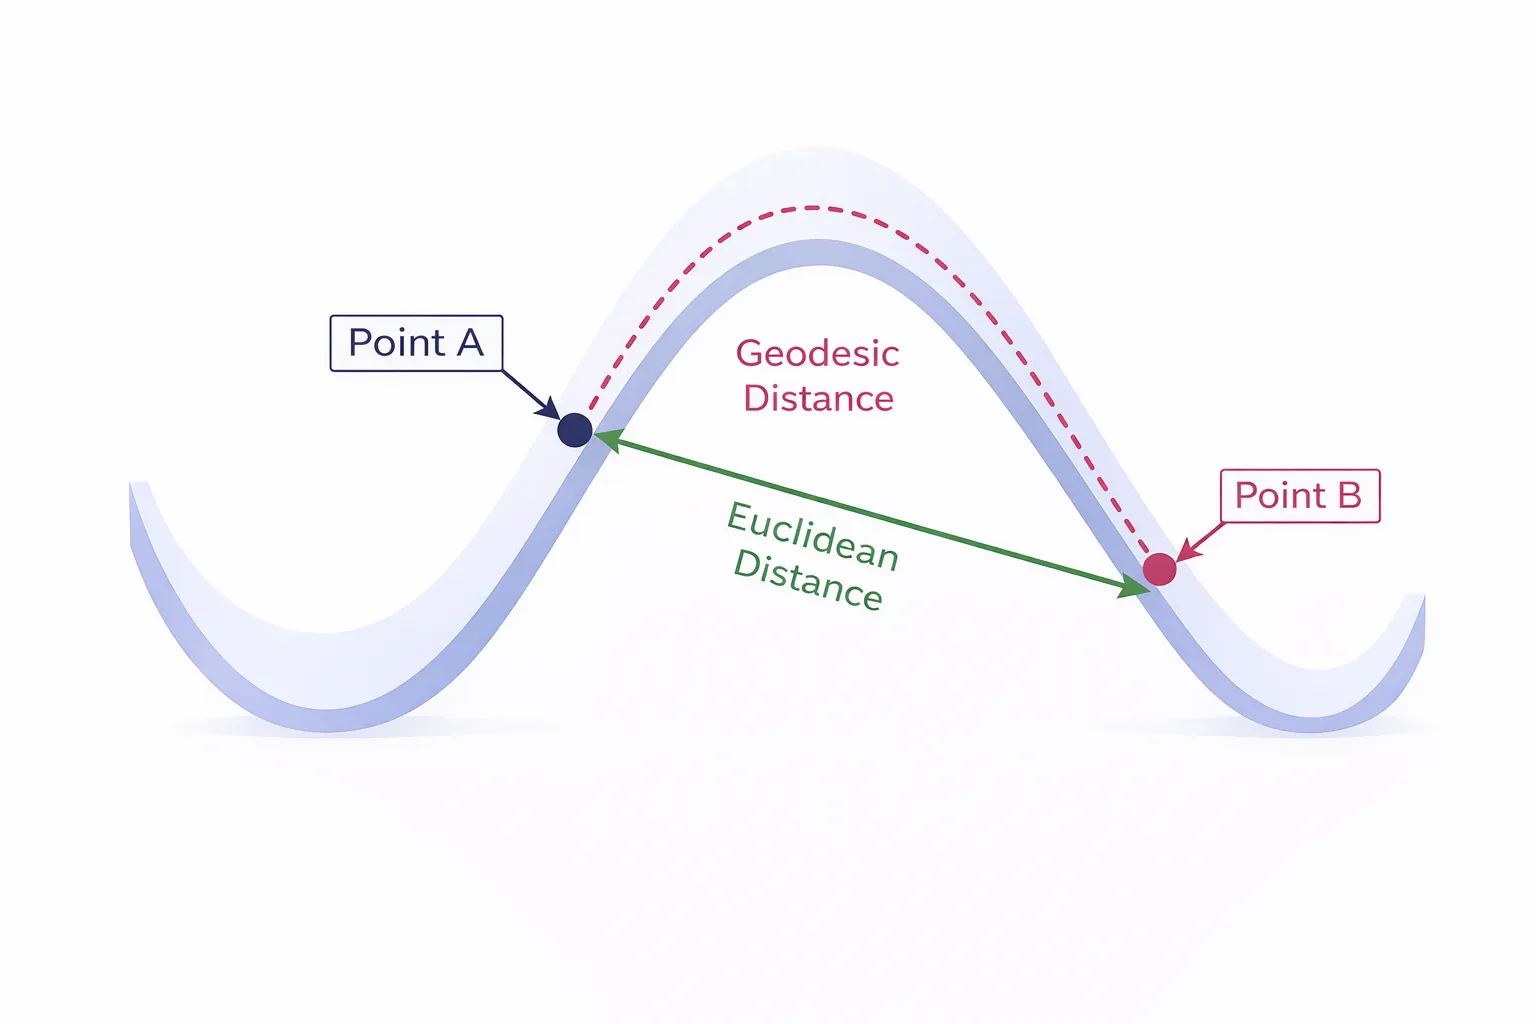
float dist =
  acos(clamp(dot(normPos, normalize(uHitPos[i])), -1.0, 1.0));
Since the shield is a sphere, we use the geodesic distance across its surface rather than Euclidean distance. This is calculated using the arccosine of the dot product between two normalized directions.
Next, we compute the radius of the expanding ring.
float ringR = min(elapsed * uHitRingSpeed, uHitMaxRadius);
The radius grows over time until it reaches a maximum distance. Finally we check whether the fragment lies close to the current ring radius.
float ring =
  smoothstep(uHitRingWidth, 0.0, abs(dist + noiseD - ringR));
When the fragment's distance matches the ring radius, the shader increases its brightness, creating the ripple effect. A small noise distortion noiseD is added so the ring edge appears slightly irregular, making the impact feel more energetic and less perfectly circular.
Because multiple hit records are stored in the buffer, several ripples can propagate across the shield at the same time, producing overlapping impact effects.
Managing life
Each hit also reduces the shield's remaining life. The shader uses this value to shift the shield color toward red as it takes damage.
vec3 lifeColor(float life) {
  return mix(vec3(1.0, 0.08, 0.04), uColor, life);
}
With full life the shield displays its base color, while lower values gradually blend toward red. This provides immediate visual feedback about the shield's current state.
Next Steps
At this point, all the pieces come together into a single effect.
One of the main advantages of this approach is that each layer is fully independent. This makes the shield highly customizable: you can tweak, remove, or expand individual components without breaking the rest of the shader.
In practice, this means you can easily adapt the effect to different styles just by adjusting a few parameters or pushing certain layers further.
You can try it out in the interactive demo.
If you'd like to explore the implementation in more detail, I also made a video on my YouTube channel where I walk through how to integrate the shader into your project. You'll also find other breakdowns of similar real-time VFX and shader experiments like this one.